Summary:
Tank Placement: The Foundation of Every Successful Installation
Tank placement is first and foremost – you must know where you will be putting your tank. This decision affects everything from structural integrity to long-term maintenance access.
Seventy-five gallons is quite heavy, and that’s before you add rock, sand, and equipment. Most homeowners underestimate the total weight – a 75-gallon system can easily exceed 1,000 pounds when fully loaded.
If you have a cement slab foundation then you won’t have an issue. For a crawlspace or basement you will need to inspect it and possibly have an actual inspector come and verify the strength. This isn’t optional for larger systems.
Structural Assessment for Large Tank Setup
The romance of aquarium ownership quickly fades when 200 gallons of saltwater crashes through your floor. Floor jacks can solve any weakness, as long as it’s not water or termite damage causing the flex. Even if it looks strong enough now, in 15 years you may have a slightly angled aquarium. Prevention is always best.
Professional structural assessment becomes critical for tanks over 75 gallons. We’ve seen beautiful installations turn into insurance nightmares because homeowners skipped this step. The stand should be sturdy enough to hold the heavy weight of your filled tank and all equipment. The stand should not wobble, or be placed in an area where it can be bumped.
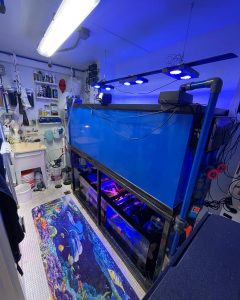
Beyond weight capacity, consider access routes. How will you get a 180-gallon tank into your living room? Measure doorways, stairwells, and turns. We’ve had to remove windows for large tank installations – much easier to plan for this upfront than discover it on delivery day.
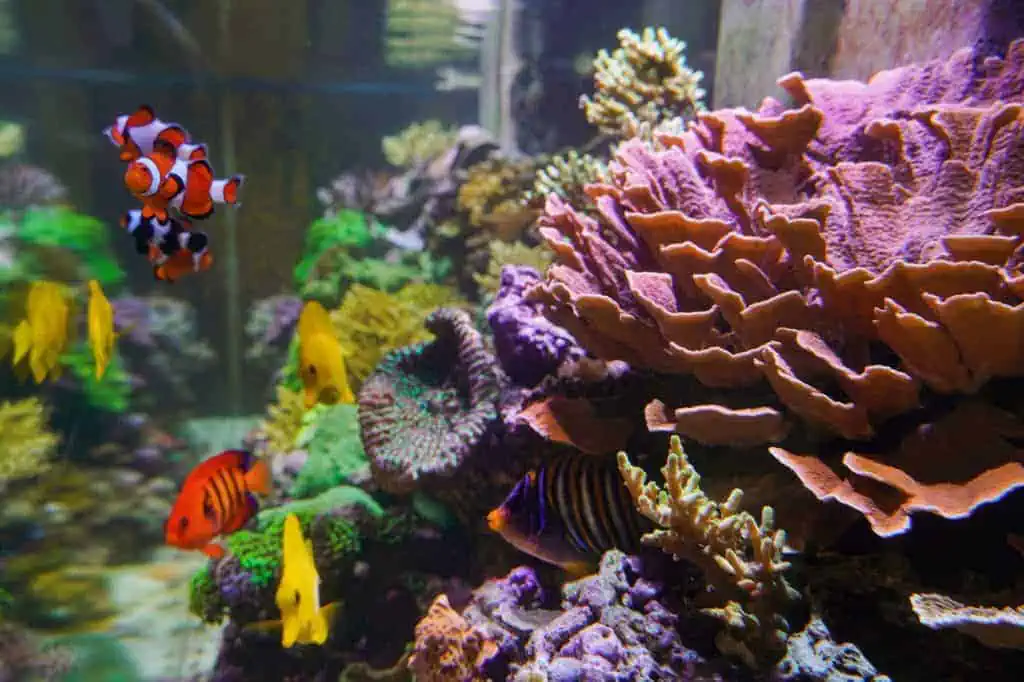
The location also affects your aquarium’s health. Try to avoid windows that allow sunlight into the room. Try to put the tank in a low traffic area for the fish’s sake. Direct sunlight promotes algae growth, while constant foot traffic stresses marine life.
Think long-term maintenance too. You’ll need access to the back and sides for cleaning, equipment service, and eventual upgrades. That beautiful built-in look loses appeal when you can’t reach a failing pump.
Environmental Factors That Impact Placement Success
Temperature stability matters more than most realize. Avoid locations near heating vents, air conditioning returns, or exterior walls that experience temperature swings. Marine systems require consistent temperatures – typically 76-78°F for most reef setups.
Electrical requirements often surprise new aquarium owners. Modern saltwater systems need significant power – pumps, heaters, lights, protein skimmers, and controllers all demand dedicated circuits. Make sure the cords running from the tank touch the ground before looping back up to the plug. This is called a drip loop and prevents water from running down the cord into your electrical socket.
GFCI protection is mandatory, not optional. Saltwater and electricity create dangerous combinations. Professional installations include proper GFCI circuits and often incorporate leak detection systems that automatically shut off power if water is detected where it shouldn’t be.
Consider noise levels too. Protein skimmers, return pumps, and overflow systems create constant background sounds. What seems quiet during the day becomes noticeable at night. Basement installations often work well for this reason, though they present their own access and maintenance challenges.
Water source proximity affects long-term convenience. You’ll need quality water for regular top-offs and water changes. Reverse osmosis water filter – you need this for initial filling and top offs of your tank. Starting with pure water is very important and will help you avoid many water quality and algae issues. Plan for RO/DI system installation or convenient access for water transport.
Leak Prevention: Engineering Safety Into Every Installation
Tank failures can be prevented by starting with a good quality aquarium and good quality, well-applied silicone. But prevention goes far beyond tank selection.
Professional installations incorporate multiple layers of protection. The tank itself is just one component – stands, plumbing, and environmental controls all present potential failure points.
You’ll need to level the tank from front to back and side to side using a spirit level. If you need to use shims to get that bubble dead center, place them between the stand and floor – not between the tank and stand. Improper leveling creates stress points that can cause catastrophic failure.
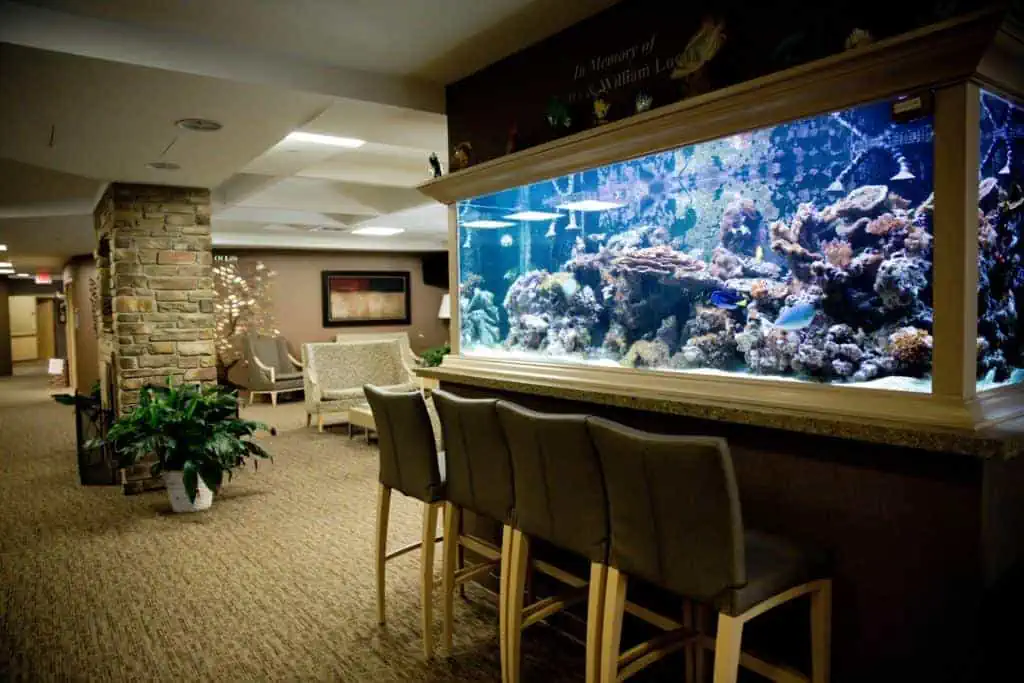
Custom Stand Construction: Building for Longevity
Particle board and MDF cannot withstand high humidity or water splashes that happen in the cabinet. When this type of wood gets wet for a prolonged period, swelling occurs. This cannot be repaired, and can potentially compromise the structure of the stand.
Professional stand construction uses marine-grade materials designed for aquatic environments. 2X4 lumber is by far the most common material for custom aquarium stands. It is cheap, and easy to cut and drill together. Things like power bars can be mounted to the wood without too much trouble.
But proper construction goes beyond material selection. A stand made of lumber needs to be able to support the weight, but it’s easy to go overboard. Using excess lumber means less room available for equipment, and doesn’t make the stand any better. A lot of stands you see are overbuilt and bulky.
Weight distribution is critical. Rather than using 4 legs like a table, most stands will use horizontal pieces along the floor to distribute the weight to the floor. This bottom plinth is also a good part to start on with construction.
Waterproofing the stand interior protects your investment. Kilz Complete is the oil based primer that sticks like grim death. Just note that the odor is the worst when painting. If you can, paint in well ventilated area. Multiple coats of marine-grade sealant create barriers against inevitable spills and humidity.
Advanced Leak Detection and Containment Systems
Modern installations incorporate active leak detection beyond basic waterproofing. Look into an apex controller with the leak detection module. These systems can automatically shut off pumps and send alerts when water is detected outside the system.
Containment strategies provide additional insurance. Make the bottom of your stand watertight enough to hold 2-3 inches of water that may leak from your sump. You can use pond liner or coat the bottom tray of the stand with a paint type of sealant.
Professional installations often include floor protection beyond the stand footprint. Hard plastic trays with maybe a 1 or 2 inch lip all around protect the floor should there be a leak. While these won’t contain major failures, they prevent damage from minor spills and equipment drips.
Emergency planning separates professional installations from amateur attempts. Make sure when the power goes off, your sump is large enough to catch the water that will siphon back out of your tank through the return lines. Make sure your returns are just below the surface in your display. That will limit the amount of water that can siphon back to your sump.
Testing these systems before they’re needed prevents disasters. Create a power outage. Once the sump is running unplug the pump so you are standing there to see what happens. Better to discover problems during controlled testing than during actual emergencies.
Plumbing design affects leak potential significantly. Larger diameter bulkheads allow for more flow, are quieter and less prone to clog up. We wouldn’t recommend anything smaller than 1 inch bulkheads for a drain. Proper drainage design prevents overflows that damage homes and stress marine life.
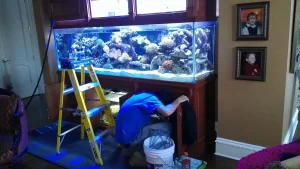
Professional Installation: When DIY Becomes Dangerous
You may arrive home with too many confusing things and begin to be fearful of doing something wrong to harm the fish. When you work with professional aquarium experts you will be guided every step of the way and informed of what not to do.
Saltwater aquarium installation involves electrical work, plumbing, structural assessment, and marine biology. Mistakes in any area can destroy equipment, flood homes, or kill expensive marine life. Most companies won’t touch an aquarium move, but we understand the complexity involved.
Professional installation includes post-setup support that DIY approaches lack. After the install process, you will receive a detailed lesson on how to work with your new system. This education prevents costly mistakes during the critical first months when systems establish biological balance.
For Suffolk County and Nassau County residents considering saltwater aquarium installation, we bring nearly two decades of experience to every project. Our team is very knowledgeable, professional, and always goes the extra mile with creative custom solutions to any problem. Your dream aquarium deserves professional installation that ensures years of trouble-free enjoyment.